Broadcast 360° Images in Real Time Using RICOH THETA V
This post was originally on Qiita (in Japanese).
Introduction
Hello, I am @shrhdk_ from RICOH.
RICOH THETA V has an Android based OS. Therefore, by developing Android app THETA plug-ins, you can add to THETA V functions.
THETA V is pretty much a full spec Android smartphone, and fast Wi-Fi is included. So, things like delivering images in real time are possible with THETA V.
I am introducing a plug-in to broadcast 360° images in real time from THETA V, using the RICOH Live Streaming API.
System Concept
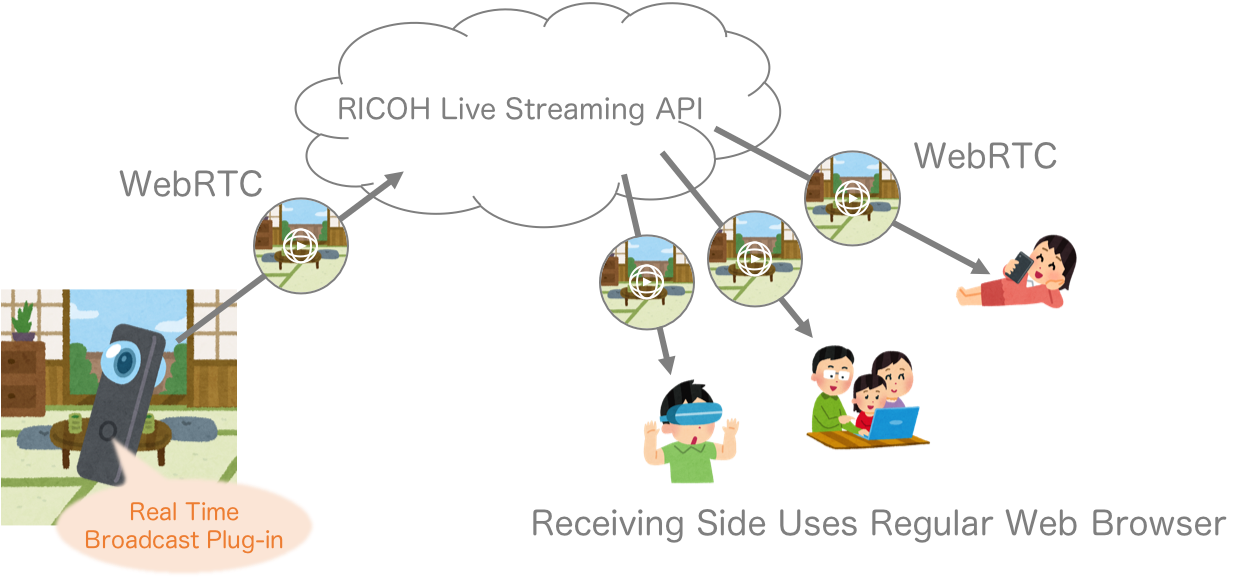
RICOH Live Streaming API is a cloud API that uses WebRTC and broadcasts images and audio in real time. Because it is WebRTC, it is easy to broadcast images for both sender and receiver using a regular Web browser and a bit of JavaScript.
The THETA plug-in side uses libwebrtc which can use WebRTC from native applications. This time we will use the already built official binary.
The receiver will use the Live Streaming API SDK sample as is.
Preparation
API User Registration and Creating a Client
To use the RICOH Live Stream API, you need to complete a separate API developer registration along with your THETA V plug-in developer registration.
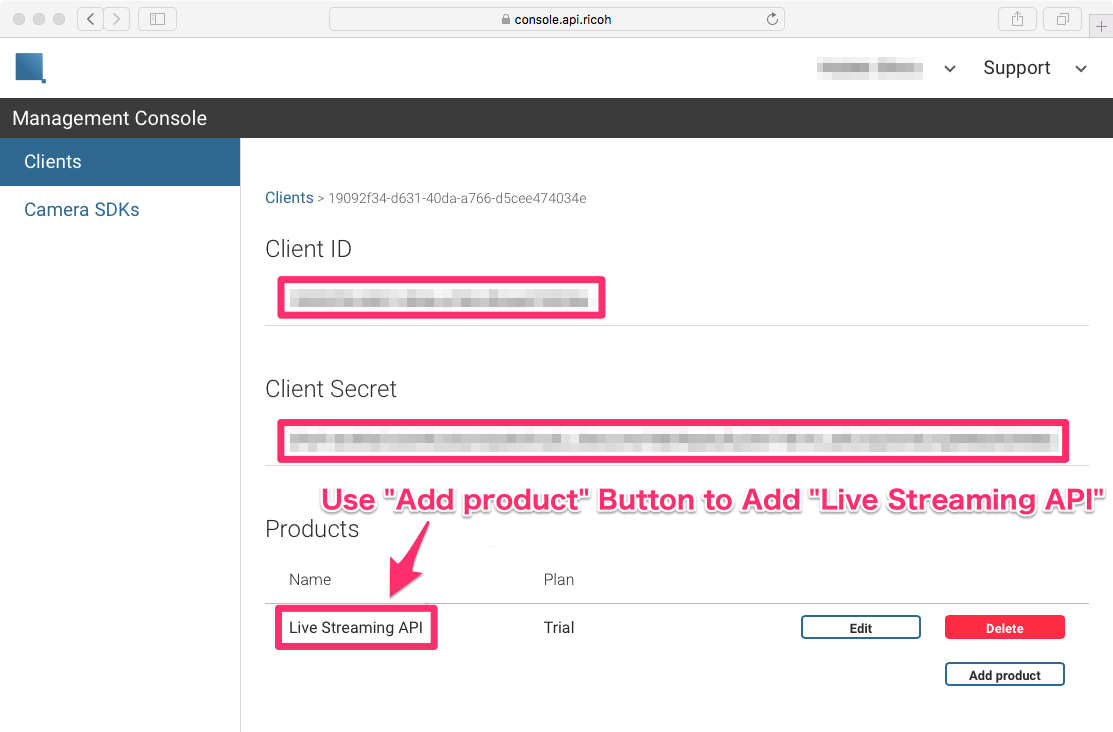
Follow Get Started - RICOH Developer Connection. create a client, and obtain your Client ID and Client Secret.
This time, we will use the Live Streaming API, so please add “Live Streaming API” to the Client Products.
Obtaining Access Token and Creating Room
After obtaining Client ID, let’s request an access token using a curl command. Please replace $CLIENT_ID and $CLIENT_SECRET with your actual information.
curl --request POST "https://auth.api.ricoh/v1/token" \
     --user "$CLIENT_ID:$CLIENT_SECRET" \
     --header "Content-Type: application/x-www-form-urlencoded" \
     --data "grant_type=client_credentials" \
     --data "scope=sfu.api.ricoh/v1/sfu"
When successful, a JSON including an access token will be returned.
{"access_token":"himitsu..."}
To broadcast images, a virtual room is necessary. Let’s send a Room Creation request using your access token. Replace $ACCESS_TOKEN with your real access token.
curl --request POST "https://sfu.api.ricoh/v1/rooms" \
     --header "Authorization: Bearer $ACCESS_TOKEN"
When successful, a JSON including a Room ID will be returned.
 {
  "id":"b008bd6f-7d89-43c4-b047-a0e0fc1c1bf3",
  "created_at":"2018-08-30T07:53:55Z",
  "up_count":0,
  "down_count":0
}
Connecting THETA to the Internet
The RICOH Live Stream API is a cloud API, so an Internet connection is necessary. Please refer to “THETA Plug-in Development - Sending Love with THETA” and connect THETA V to the Internet.
You are now ready to use the Live Streaming API.
Plug-In (Image Sender Side)
This repository makes public a broadcast plug-in project in its entirety. Please see the repository README file for details of implementation and the project’s build method.
Here, the general flow of processing and important points specific to the THETA plug-in will be introduced.
Flow of Processing
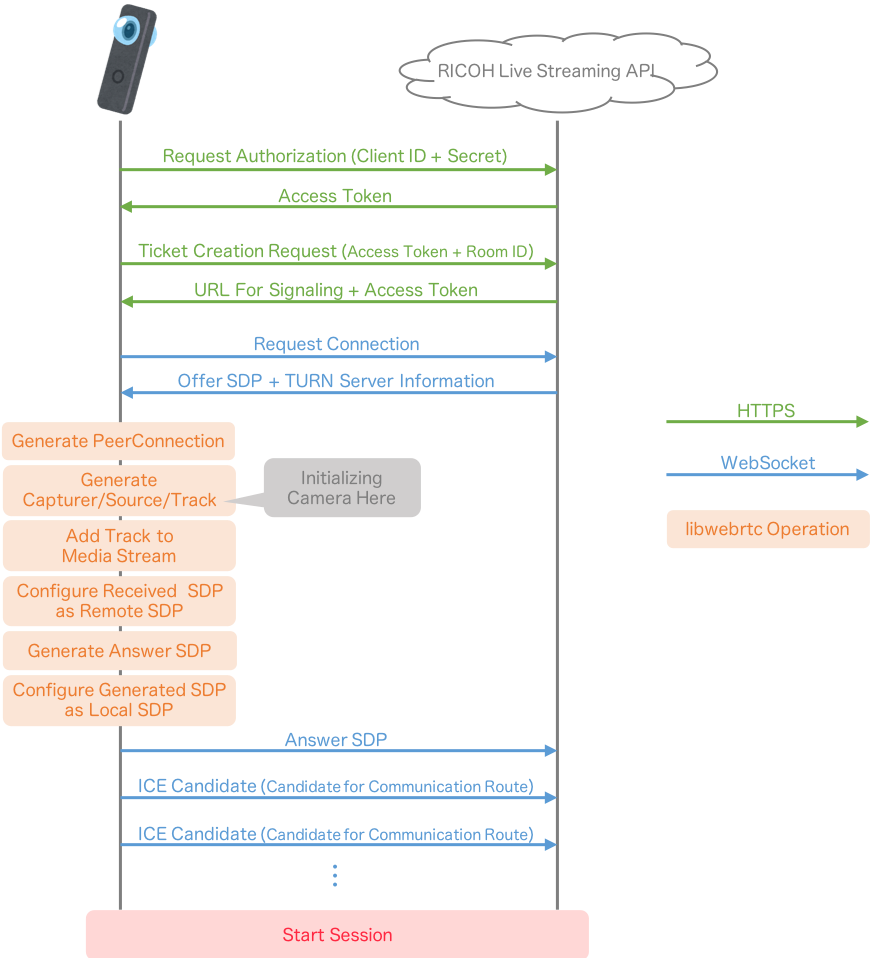
The Plug-in is connected to the Live Streaming API and will receive necessary information for broadcasting images. The received information is configured in libwebrtc and then starts broadcasting.
Important Points Specific to the THETA Plug-in
No Need to Support Execution Time Permission Check
Plug-ins use camera functions, so if it was normal Android, support for execution time permission would be necessary.
However, with the THETA plug-in, authorization is set up during installation, so support for execution time permission is not necessary.
When developing, set permissions in advance from the application settings. The article below explains how to set authorization.
THETAプラグイン開発におけるVysorの使い方【THETAプラグイン開発】 - Qiita (in Japanese)
Camera Mode Setting is Necessary
For the THETA plug-in, Shooting Mode needs to be properly set for using the camera. This time, in order to get a movie, it will be set to RicMoviePreview1920.
Also, because the original parameter setting is necessary, org.webrtc.CameraVideoCapturer included in libwebrtc cannot be used as is. This time, the original Video Capturer is implemented, and the parameters are set within that.
I’ve referred to https://github.com/lyokato/theta-plugin-sora-experimental for ThetaCapturer implementation.
Need to Declare Camera Use
In a THETA, since the system application is always using the camera, before using the camera from a plug-in, it is necessary to send Broadcast Intent and free the camera.
Source: Notifying Camera Device Control
sendBroadcast(new Intent("com.theta360.plugin.ACTION_MAIN_CAMERA_CLOSE")); // Broadcast before camera is used
Image Receiver Side
The image receiver side uses the Live Streaming API SDK sample. Download the sample repository, and start up the server with command below. Node.js and yarn are necessary.
$ cd ricoh-cloud-sdk-js/samples/sfu-server       # move to sfu-server directory
$ yarn                                           # install dependent packages
$ export RDC_CLIENT_ID=(your client id)
$ export RDC_CLIENT_SECRET=(your client secret)
$ yarn start                                     # start
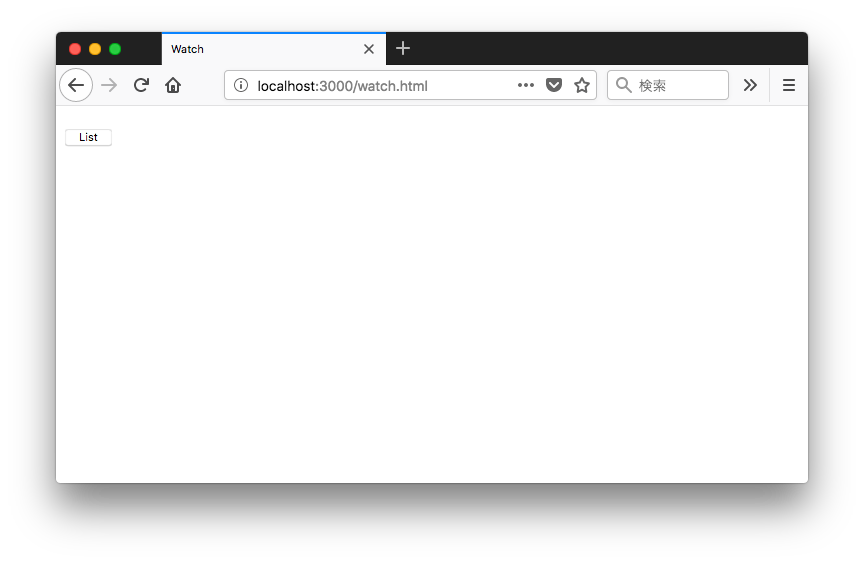
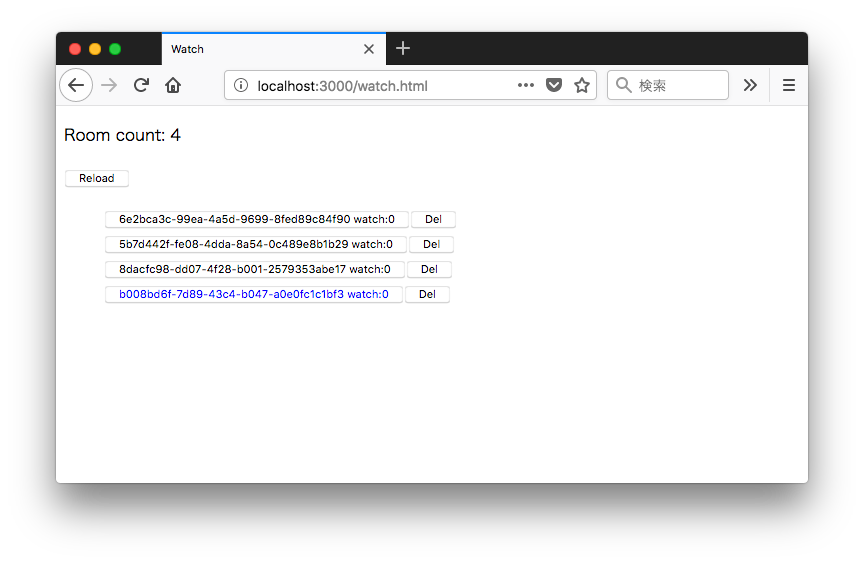
When start is successful, access to http://localhost:3000/watch.html with a Web browser. If you see the screen below, it is successful.
Confirm Action
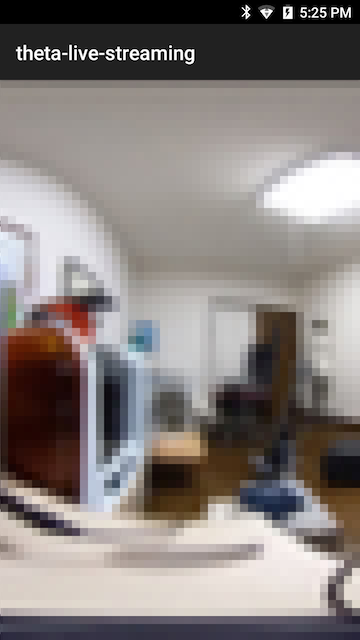
When the plug-in is started, it will connect to the hardcoded Room ID immediately, and will start broadcasting images.
(Screenshot from THETA obtained by Vysor. The room is dirty, so it has been blurred out.)
When the plug-in start is confirmed, open the receiver side. http://localhost:3000/watch.html

When the List Button is pushed, the room list which is tied to the Client ID will be displayed. The image is broadcast from the room with the blue link.
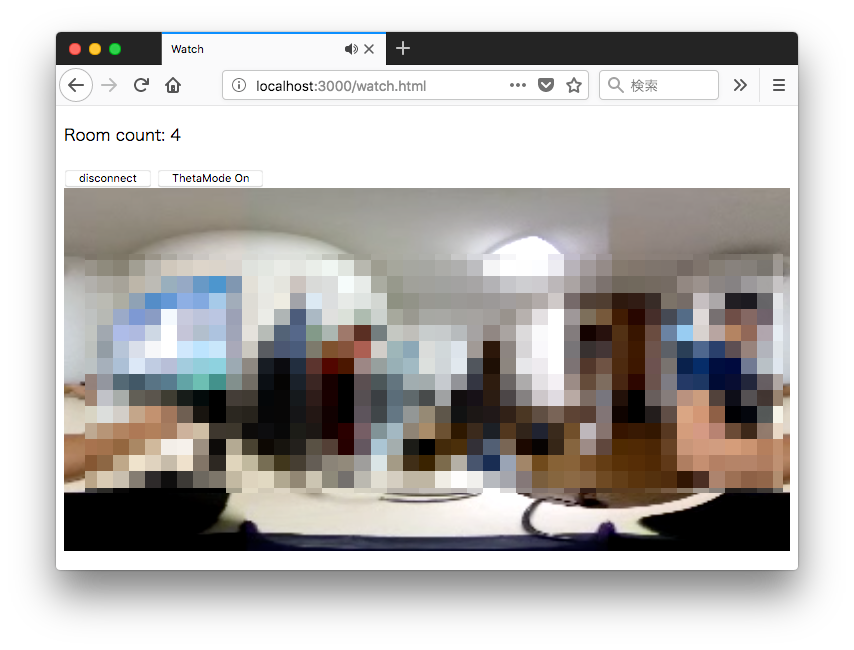
When the room button is pushed, receiving the images will start. 360° images are able to be received in equirectangular format.
(The room is dirty, so it has been blurred out.)
Conclusion
By combining a THETA plug-in and RICOH Live Streaming API, 360° images can be easily broadcast by a THETA.
If you are interested in THETA plug-in development, please register for the partner program!
Please be aware that the THETA with its serial number registered with the program will no longer be eligible for standard end-user support.
For detailed information regarding partner program please see here.
The registration form is here.